[ad_1]
Slick smartphone cameras and the likes of Instagram may have fooled us all into thinking we’re professional travel photographers, but when most of us finally jump into the real deal using real cameras for the first time — even in a professional capacity — we quickly learn that Instagram filters just don’t work for a photographer. Whether we’re talking pro cameras, film, DSLR, or mirrorless, you’ll want more technical and practical knowledge, as well as the ability to recognize and capture great footage.
To that end, we’re looking at a few things aspiring photographers can do to up their travel photography game. It takes the right tools, the right knowledge, and lots of practice.
Travel Photography Starter Gear
One key thing to keep in mind when it comes to travel photography is that while your goal should always be to pack as little as possible, the importance of photography gear works against this goal. Sometimes you’ll find high-end shooters whose work requires them to pack a suitcase full of expensive, flimsy lenses and equipment, but for your average person, you don’t need to try to find a solid article or content-quality shot. very much.
Get a quality, easy-to-use camera and a versatile lens or two. We’ll get into the lenses a bit more below, but suffice it to say you should be able to take both tightly-framed images and wide-angle shots for landscapes and wide street views.
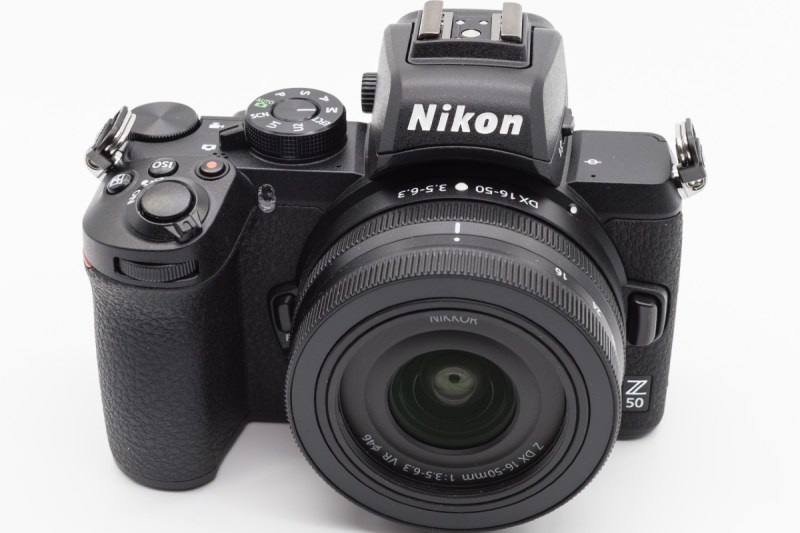
The Nikon Z50 is a great choice for beginners as it takes great photos without requiring a lot of expertise. It’s not a perfect camera, but at a relatively low price, it offers everything you need to take quality photos and learn how to use it. The main problem with the Nikon Z series is that they require you to use one of their Nikkor branded lenses. Fortunately, the company has released a small opening adapter. Plus, if you stick to the one- or two-lens rule, you won’t need much to choose from.
It will come down to the specifics of which lens or lenses you’re working with, but generally speaking, you’ll want a lens that’s called a “prime” for everyday street shooting, and a wide lens that’s capable of capturing city and landscapes. . The 35mm lens is a popular choice for the former because it offers an affordable middle-of-the-road frame to work with, along with the pleasing photo quality you can only get from a fixed lens. For wide shots, a 14-30mm zoom lens can be a great travel option because it opens up to wide angles and gives a single lens a lot of versatility to zoom in on more details.
An option for ultra-light gear is the Moment series of lenses that attach to a smartphone-specific case. They’ll dramatically expand your phone-photo capabilities without eating up too much bag space.
Travel photography beginner skills
There are a million techniques and camera functions you’ll learn for the rest of your life, but there are only a few key things you need to understand from here on: aperture, shutter speed, ISO, and light. The first three are settings controlled by your camera, and the last is primarily a question of sun conditions when it comes to travel photography.
Aperture is the size of the lens opening that lets light into your camera. The shutter speed determines the amount of light that is allowed through that lens opening. ISO is the sensitivity to light. How you combine these elements – and in what lighting conditions – will determine the outcome of your photo.
When all is said and done, learning how the three settings interact is largely a question of practice. A free video course that explains the use of these settings very clearly is Chris Bray’s 10-part Beginner Photography series on YouTube.
Preparing your travel photos
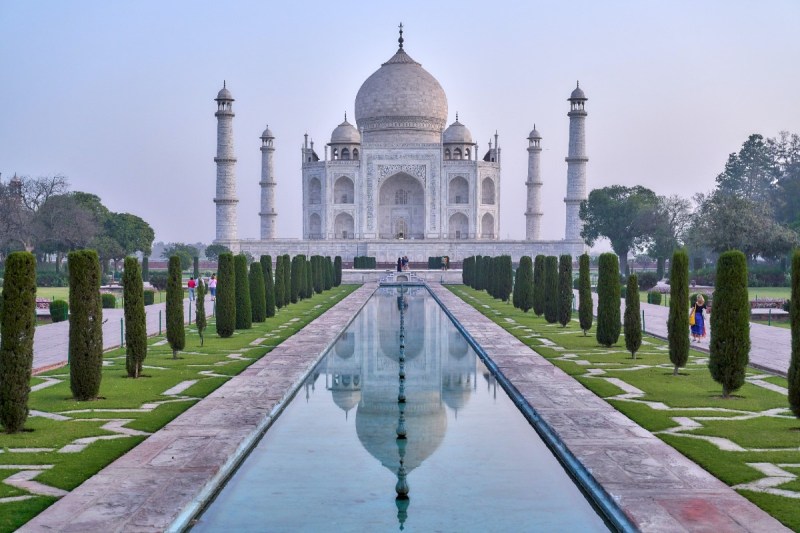
Generally speaking, travel photos tend to be large images of landscapes, large buildings or monuments, or street scenes. Your goal in these cases should be to consider what offers the most unique perspective on what you’re trying to capture and how you can create things in a way that creates some kind of impression on the viewer. The more you practice, the more you’ll get, which may not always mean going with a wider landscape.
A general shot of the Eiffel Tower from a distance may not do much for the viewer. But if you get close to it and get a picture of it hovering above, it can give a more impressive sense of scale.
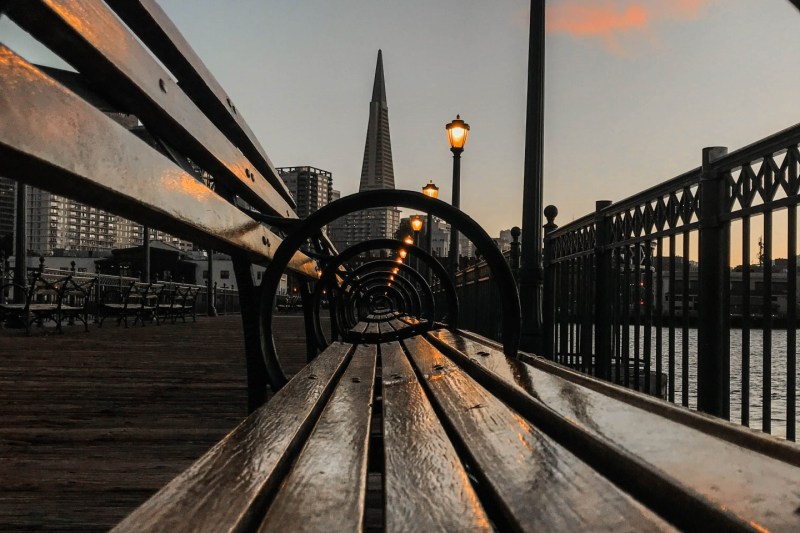
Framing is a skill that takes a lot of practice and experimentation, but few things can get you outside and trying to figure out how to best photograph the destination.
Best places to practice travel photography
This list is endless. It is literally the best place to take photos anywhere and everywhere. That being said, there are destinations that have a reputation for photographic excellence and offer a wide range of options that are relatively easy to experiment with.
Amazing natural places like Moab, Banff or Oaxaca, for example, can offer a variety of conditions in a short time and space – crazy geological possibilities everywhere in a short distance – and can offer many opportunities to play with light. Different times of the day. You’ll definitely want your wide-angle lens handy in these areas.
On the other hand, famous urban locations like New York, Paris, Bangkok and Istanbul are a photographer’s dream. There’s so much going on all the time that you can’t help but stumble across something fun to photograph. Always have your prime lens ready.
But when all is said and done, with the right lighting and framing, you can make any space beautiful or at least interesting. In terms of learning the technical aspects of your camera and understanding photo composition, it all comes down to practice. The more you practice and experiment, the better you’ll produce quality photos and develop your own style.
Editors’ recommendations
[ad_2]
Source link